How to Make an Interactive PowerPoint Game for Your Classroom
Did you know that you can turn an ordinary PowerPoint into a clickable classroom game?
You don’t need a special program, and you definitely don’t need to know how to code.
PowerPoint has a simple feature that lets you make an object—such as a number, picture, word, or answer box—clickable. When a student clicks it, PowerPoint can send them to ano
ther slide.
That means you can create a game where:
Correct answer → Great job! → Next question
and
Incorrect answer → Try again → Back to the question
Once you understand how to set up that little sequence, you can use it over and over for almost any skill.
I’ll show you how.
Start With One Question
Before creating an entire game, make one question from beginning to end.
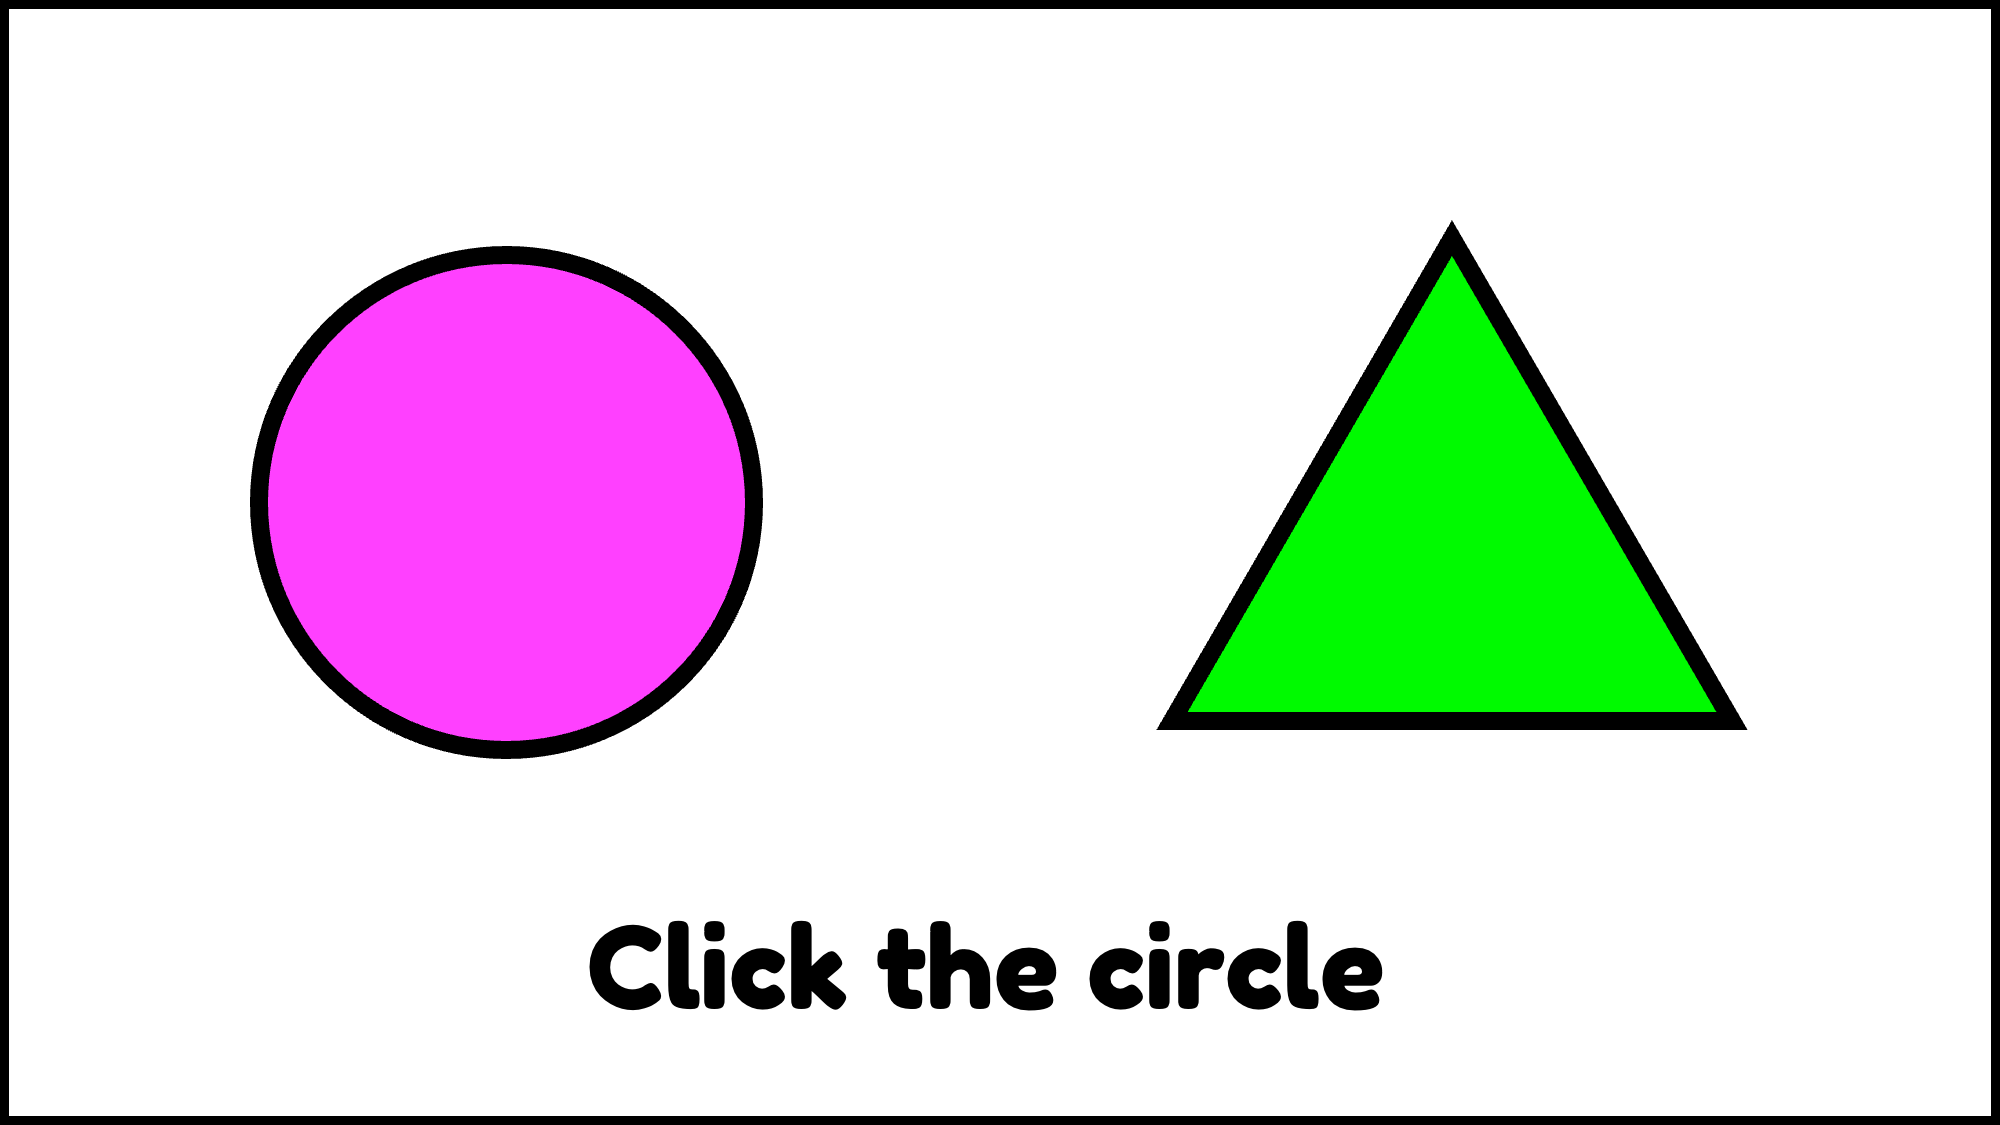
For example, in an identifying shapes game, I might put a circle and a triangle on the first slide and give students the direction:
Click the circle
That gives me one correct answer and one incorrect answer.
Step 1: Create Your Question Slide
Design your slide just as you normally would.
Add:
a short direction
the problem or question
two or more answer choices
For younger students, I recommend keeping the directions very short and making the answer choices large enough to click easily.
You can make almost anything clickable: a shape, text box, number, word, picture, or transparent shape placed over an image.
Step 2: Create a Correct-Answer Slide
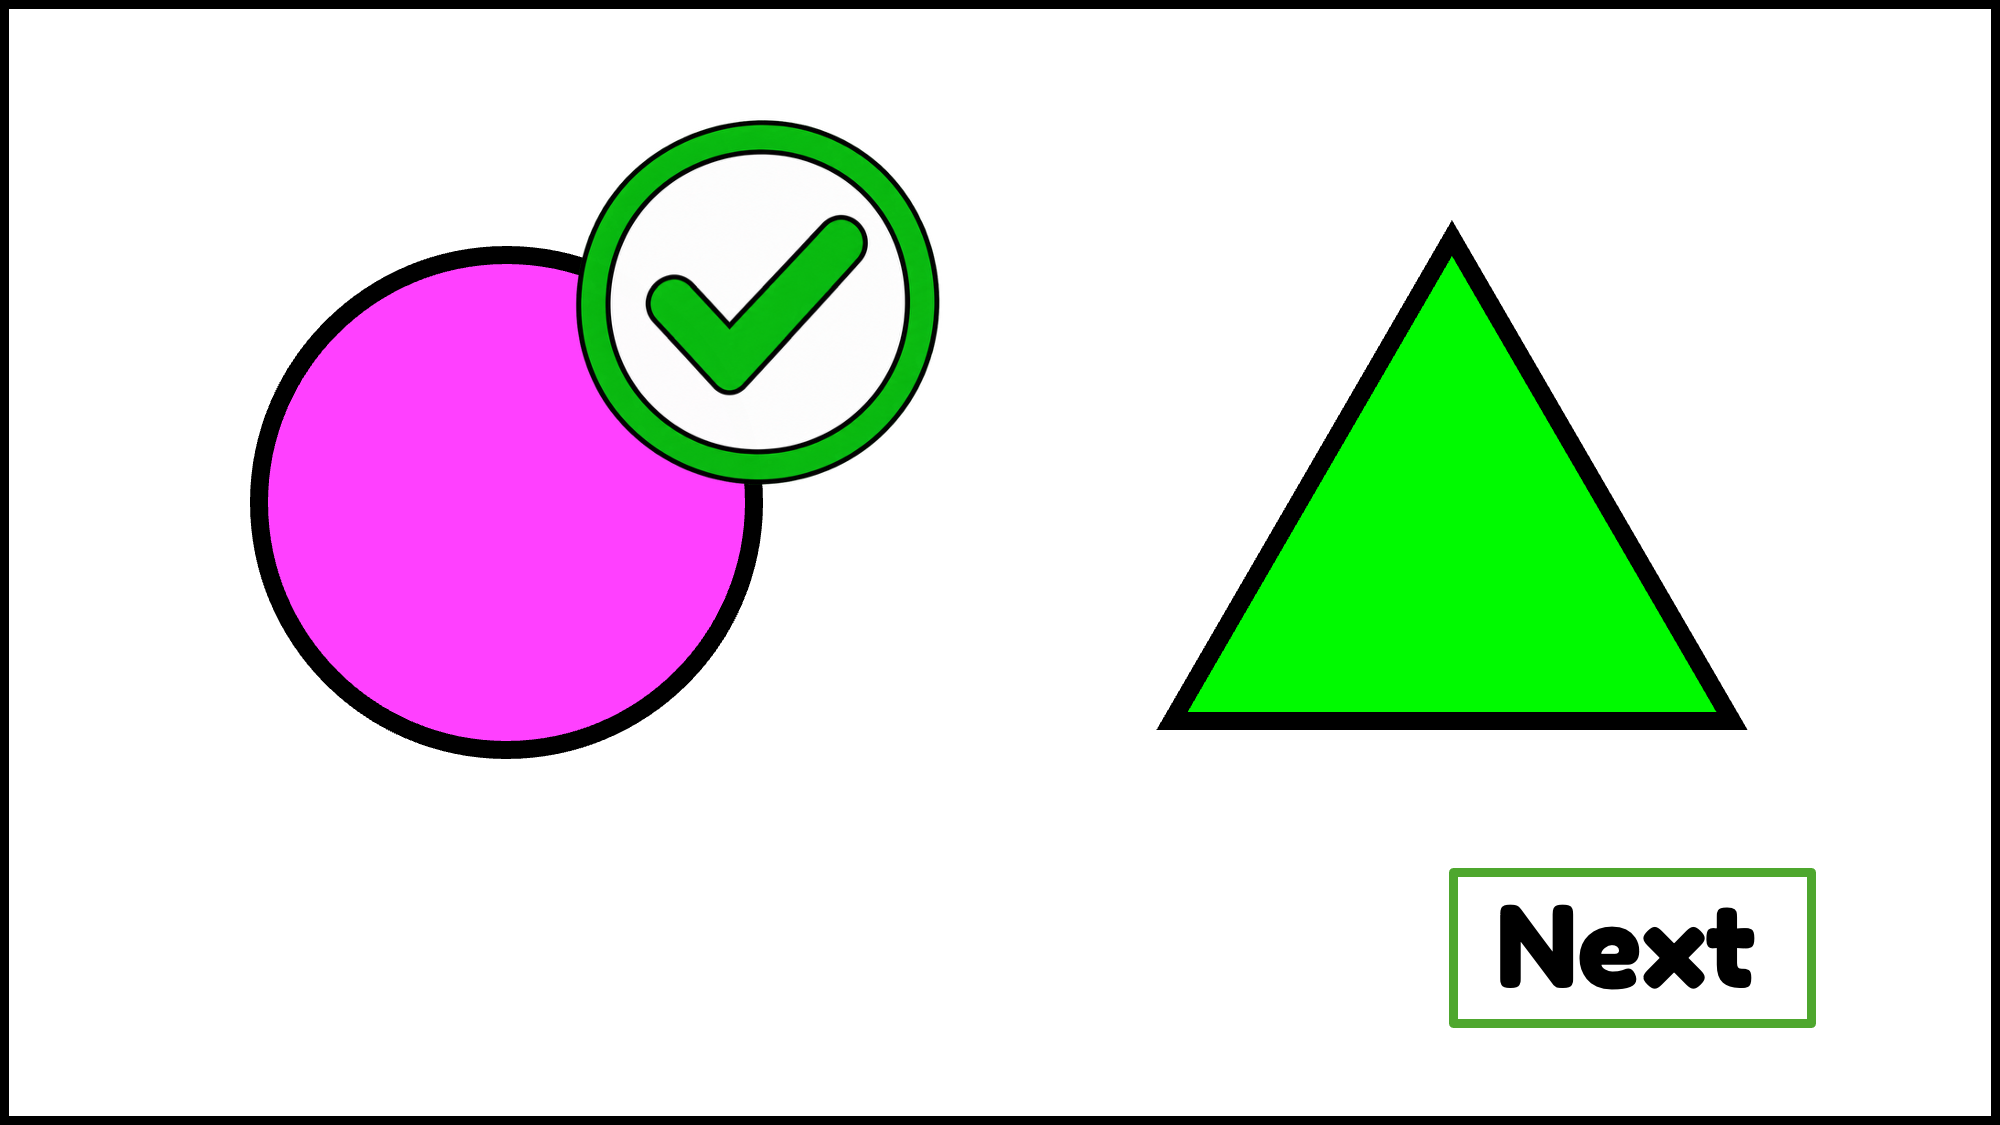
Next, make the slide students will see when they choose the correct answer.
This doesn't need to be complicated.
I usually like an obvious visual cue such as a green check mark along with a Next button.
The student immediately knows:
I got it right. Now I can move on.
Step 3: Create a “Try Again” Slide
Now create a second feedback slide for an incorrect response.
A simple red X and Try Again works well.
I prefer this to a long message because students understand it immediately. They don't need to stop and read several sentences before returning to the problem.
The Try Again button will eventually take them right back to the question they just answered.

Step 4: Make the Correct Answer Clickable
This is the part that makes the PowerPoint interactive.
Select the shape, picture, or answer that you want students to click.
Then go to:
Insert → Action Settings → Mouse Click → Hyperlink to → Slide… → Slide 2
Now, when the presentation is running and the student clicks that answer, PowerPoint will jump directly to the correct-answer slide.
You Can Add a Sound, Too
PowerPoint's Action settings also allow you to play a sound when an object is clicked.
For example, you might add a short chime for a correct response.
This is completely optional. The visual feedback is enough, but a simple sound can make the activity a little more fun.
I would keep sounds short and consistent rather than adding lots of different effects.
Step 5: Link the Incorrect Answer
Now select the incorrect answer.
Again, choose:
Insert → Action Settings → Mouse Click → Hyperlink to → Slide… → Slide 3
This will link the answer to your Try Again slide.
You can also choose a different sound for the incorrect response if you want one.
Now PowerPoint knows what to do with both possible answers.
Step 6: Make the “Try Again” Button Go Back
There is one more important link to create.
On your Try Again slide, select the Try Again button or image.
Choose:
Insert → Action Settings → Mouse Click → Hyperlink to → Slide… → Slide 1
This links it back to the original question slide.
The student can now make another choice rather than simply being shown the answer.
I like this because the student still has to go back and think about the problem.
Step 7: Make the “Next” Button Move Forward
On the correct-answer slide, select your Next button.
Insert → Action Settings → Mouse Click → Hyperlink to → Slide… → Slide 4
Now you have a complete interactive sequence:
Question
↓ correct answer
Correct!
↓
Next Question
Or:
Question
↓ incorrect answer
Try Again
↓
Original Question
That's really the heart of the entire game.

One Setting You Don't Want to Forget
There is one small detail that can make a big difference.
Normally, PowerPoint allows you to move to the next slide simply by clicking somewhere on the screen.
You don't want that in an interactive game.
Otherwise, a student could click beside an answer and accidentally advance the presentation.
Go to the Transitions settings and turn off the option to advance the slide On Mouse Click.
Your students should move through the game by clicking the buttons and answers you created—not by clicking randomly on the slide.
Test Everything in Slide Show Mode
The links won't behave like a game while you're simply editing your PowerPoint.
Run the presentation in Slide Show mode and pretend you are the student.
Click the wrong answer first.
Does it go to Try Again?
Does Try Again return you to the correct question?
Now click the correct answer.
Does it take you to the correct feedback?
Does Next take you to the next question?
I always recommend testing one complete question before creating the rest of the game.
Then Duplicate, Duplicate, Duplicate
This is the part that saves an enormous amount of time.
Once your first question works, you already have your basic template.
Duplicate the slides and change:
the question
the answer choices
the pictures or numbers
which answer is correct
the links that need to lead to the next question
You don't need to rebuild the whole game every time.
Just be careful when duplicating slides: check your links. PowerPoint may preserve the original links, so make sure each button sends students to the slide you intend.
What Can You Teach With an Interactive PowerPoint?
Almost anything that works with a multiple-choice or “choose one” format can become an interactive PowerPoint.
You might use one for:
comparing numbers
addition and subtraction
letter and sound identification
phonics
CVC words
sight words
vocabulary
parts of speech
sentence editing
reading comprehension
And once you have created one basic game format, you can change the content without reinventing the whole thing.
Keep It Simple
It can be tempting to add lots of animations, sounds, characters, and moving pieces.
You don't need them.
The interaction itself is what makes the activity engaging:
Look. Think. Choose. Get immediate feedback. Try again or move on.
For students who need lots of repeated practice, that simple structure can work especially well.
Give It a Try
If you've never made an interactive PowerPoint before, don't start by planning a 30-question game.
Make one question.
Create a correct slide.
Create a Try Again slide.
Add the actions.
Run it in Slide Show mode.
Once you see that first question work, the rest makes a lot more sense.
After you have created one interactive PowerPoint format, it’s easy to adapt it for different seasons and themes.
Optional: Save it as a PowerPoint Show
If you are creating the activity for students or sharing a finished game, you can save a copy as a PowerPoint Show (.ppsx).
A PowerPoint Show opens directly in Slide Show mode, so users can begin playing without first seeing the editing screen.
Keep your original .pptx file so you can continue editing the game later.
Prefer a Ready-Made Interactive PowerPoint?
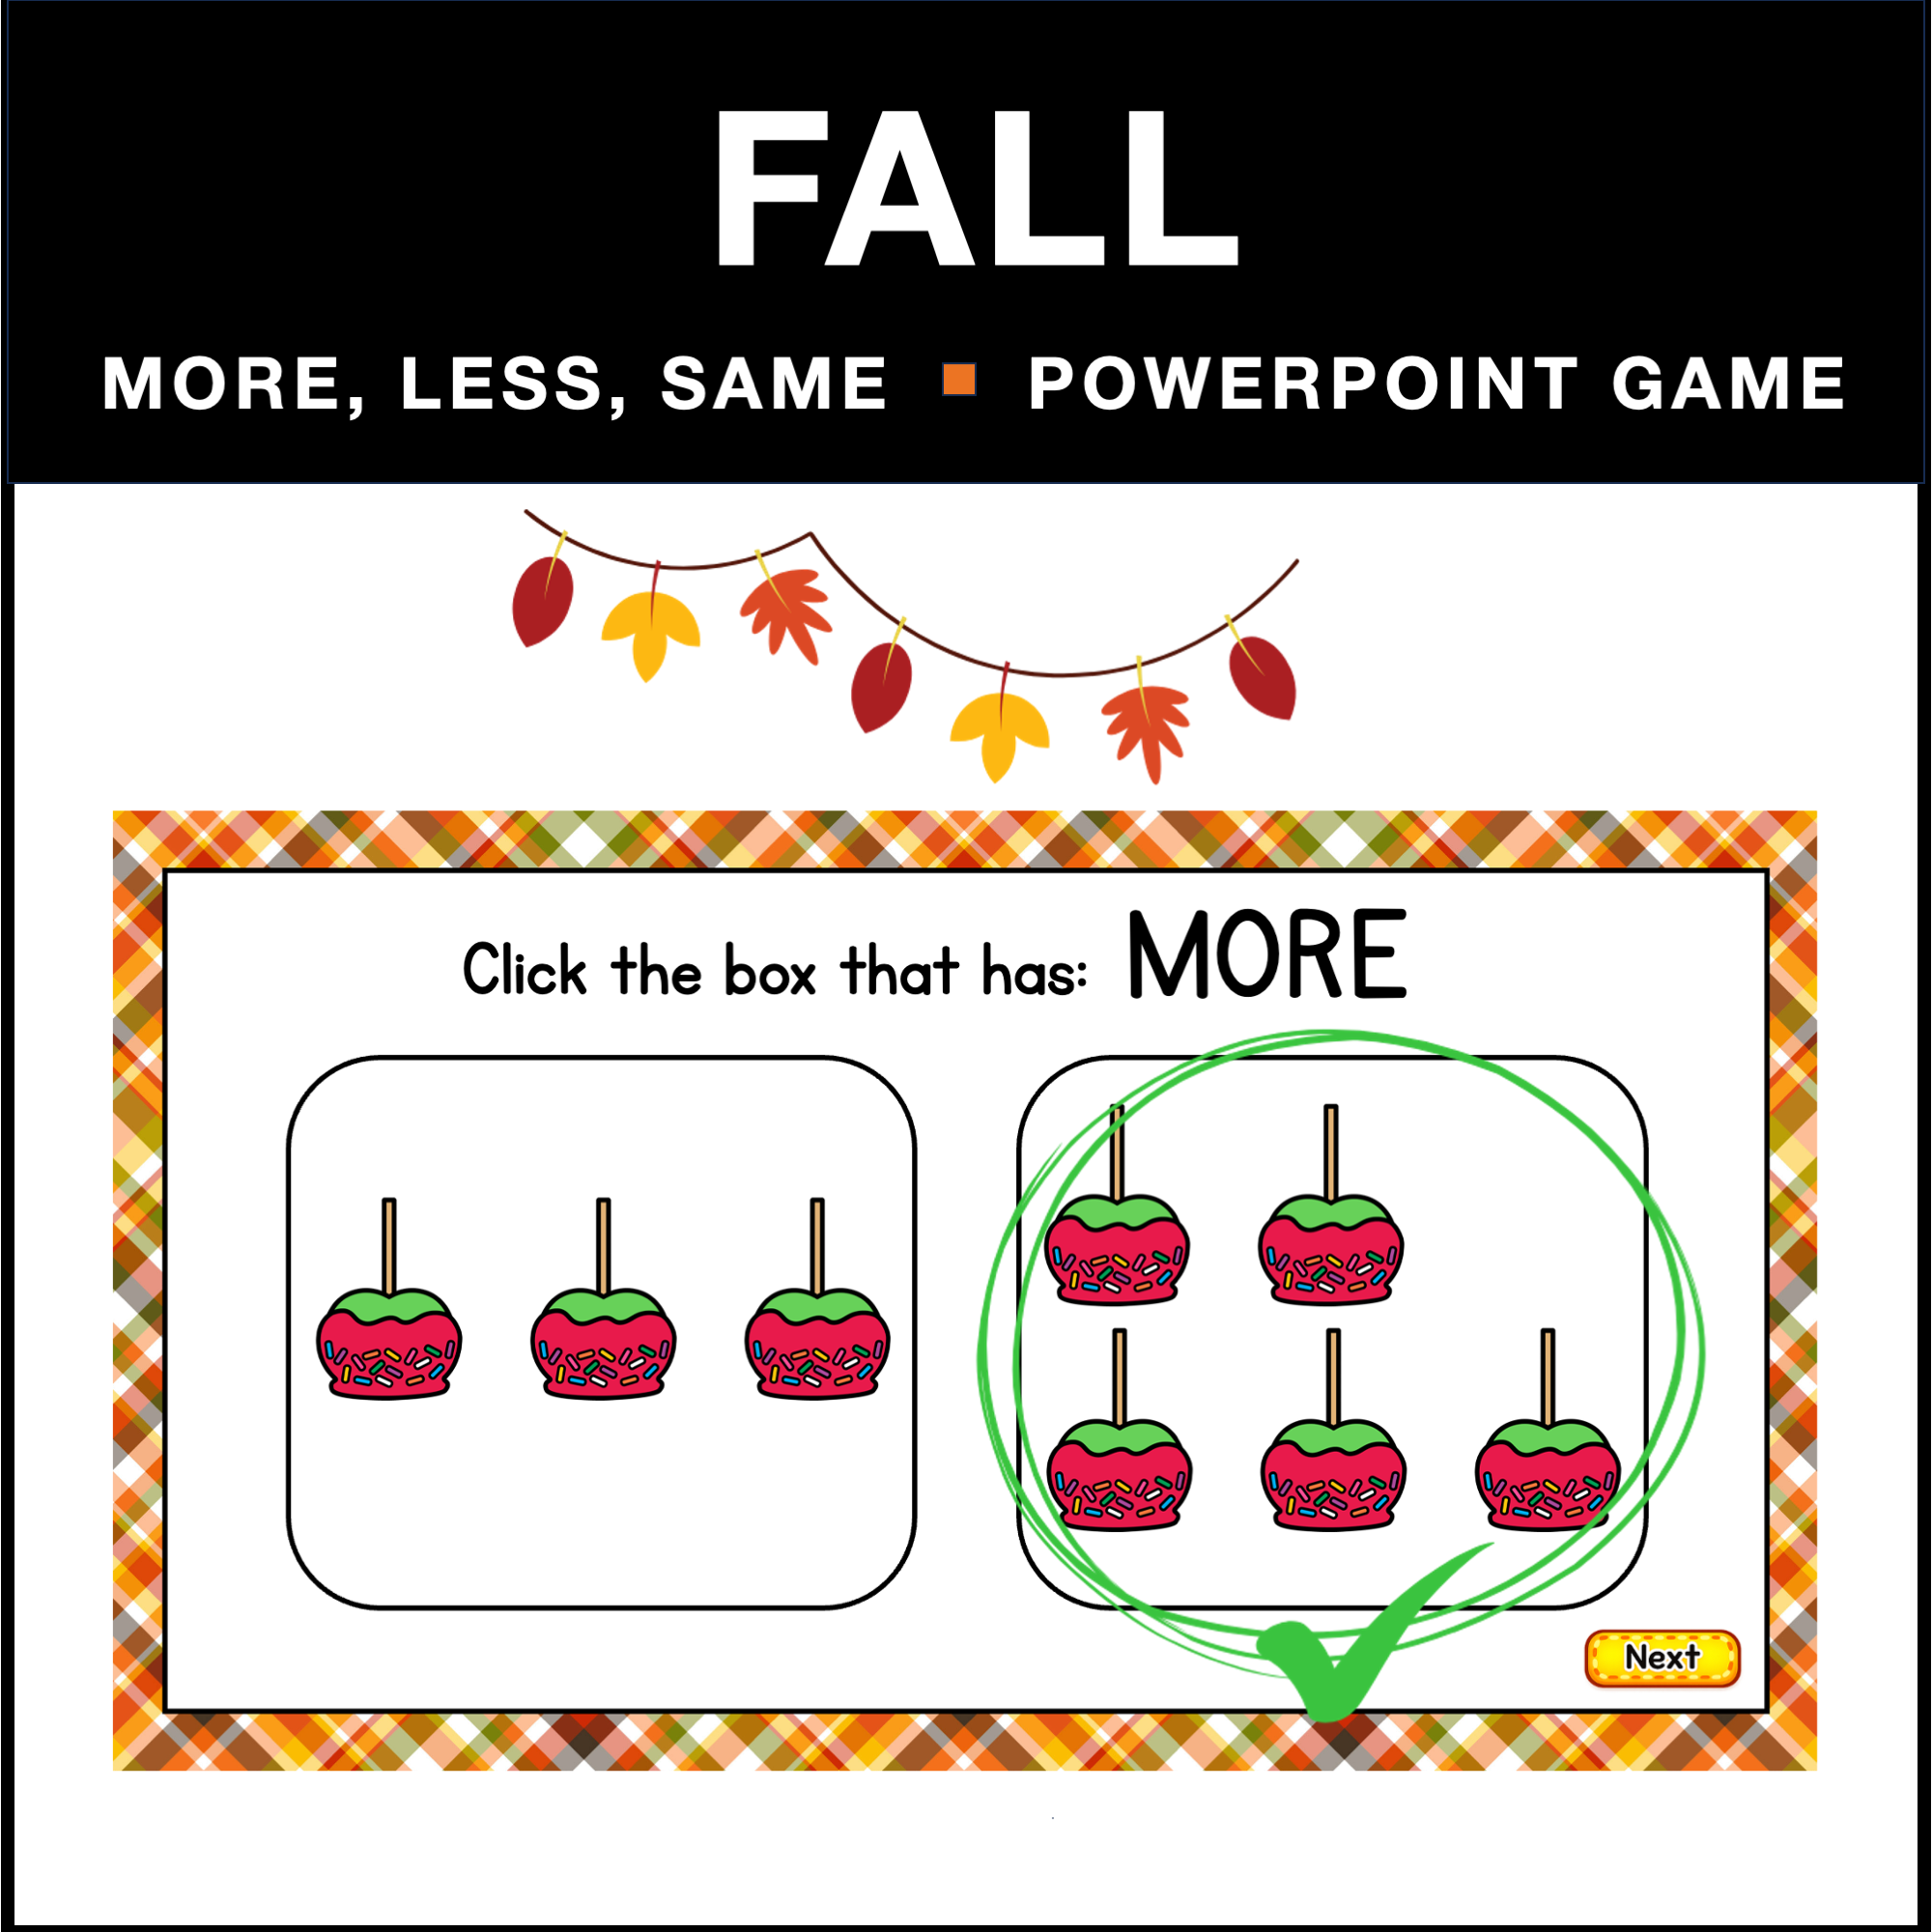
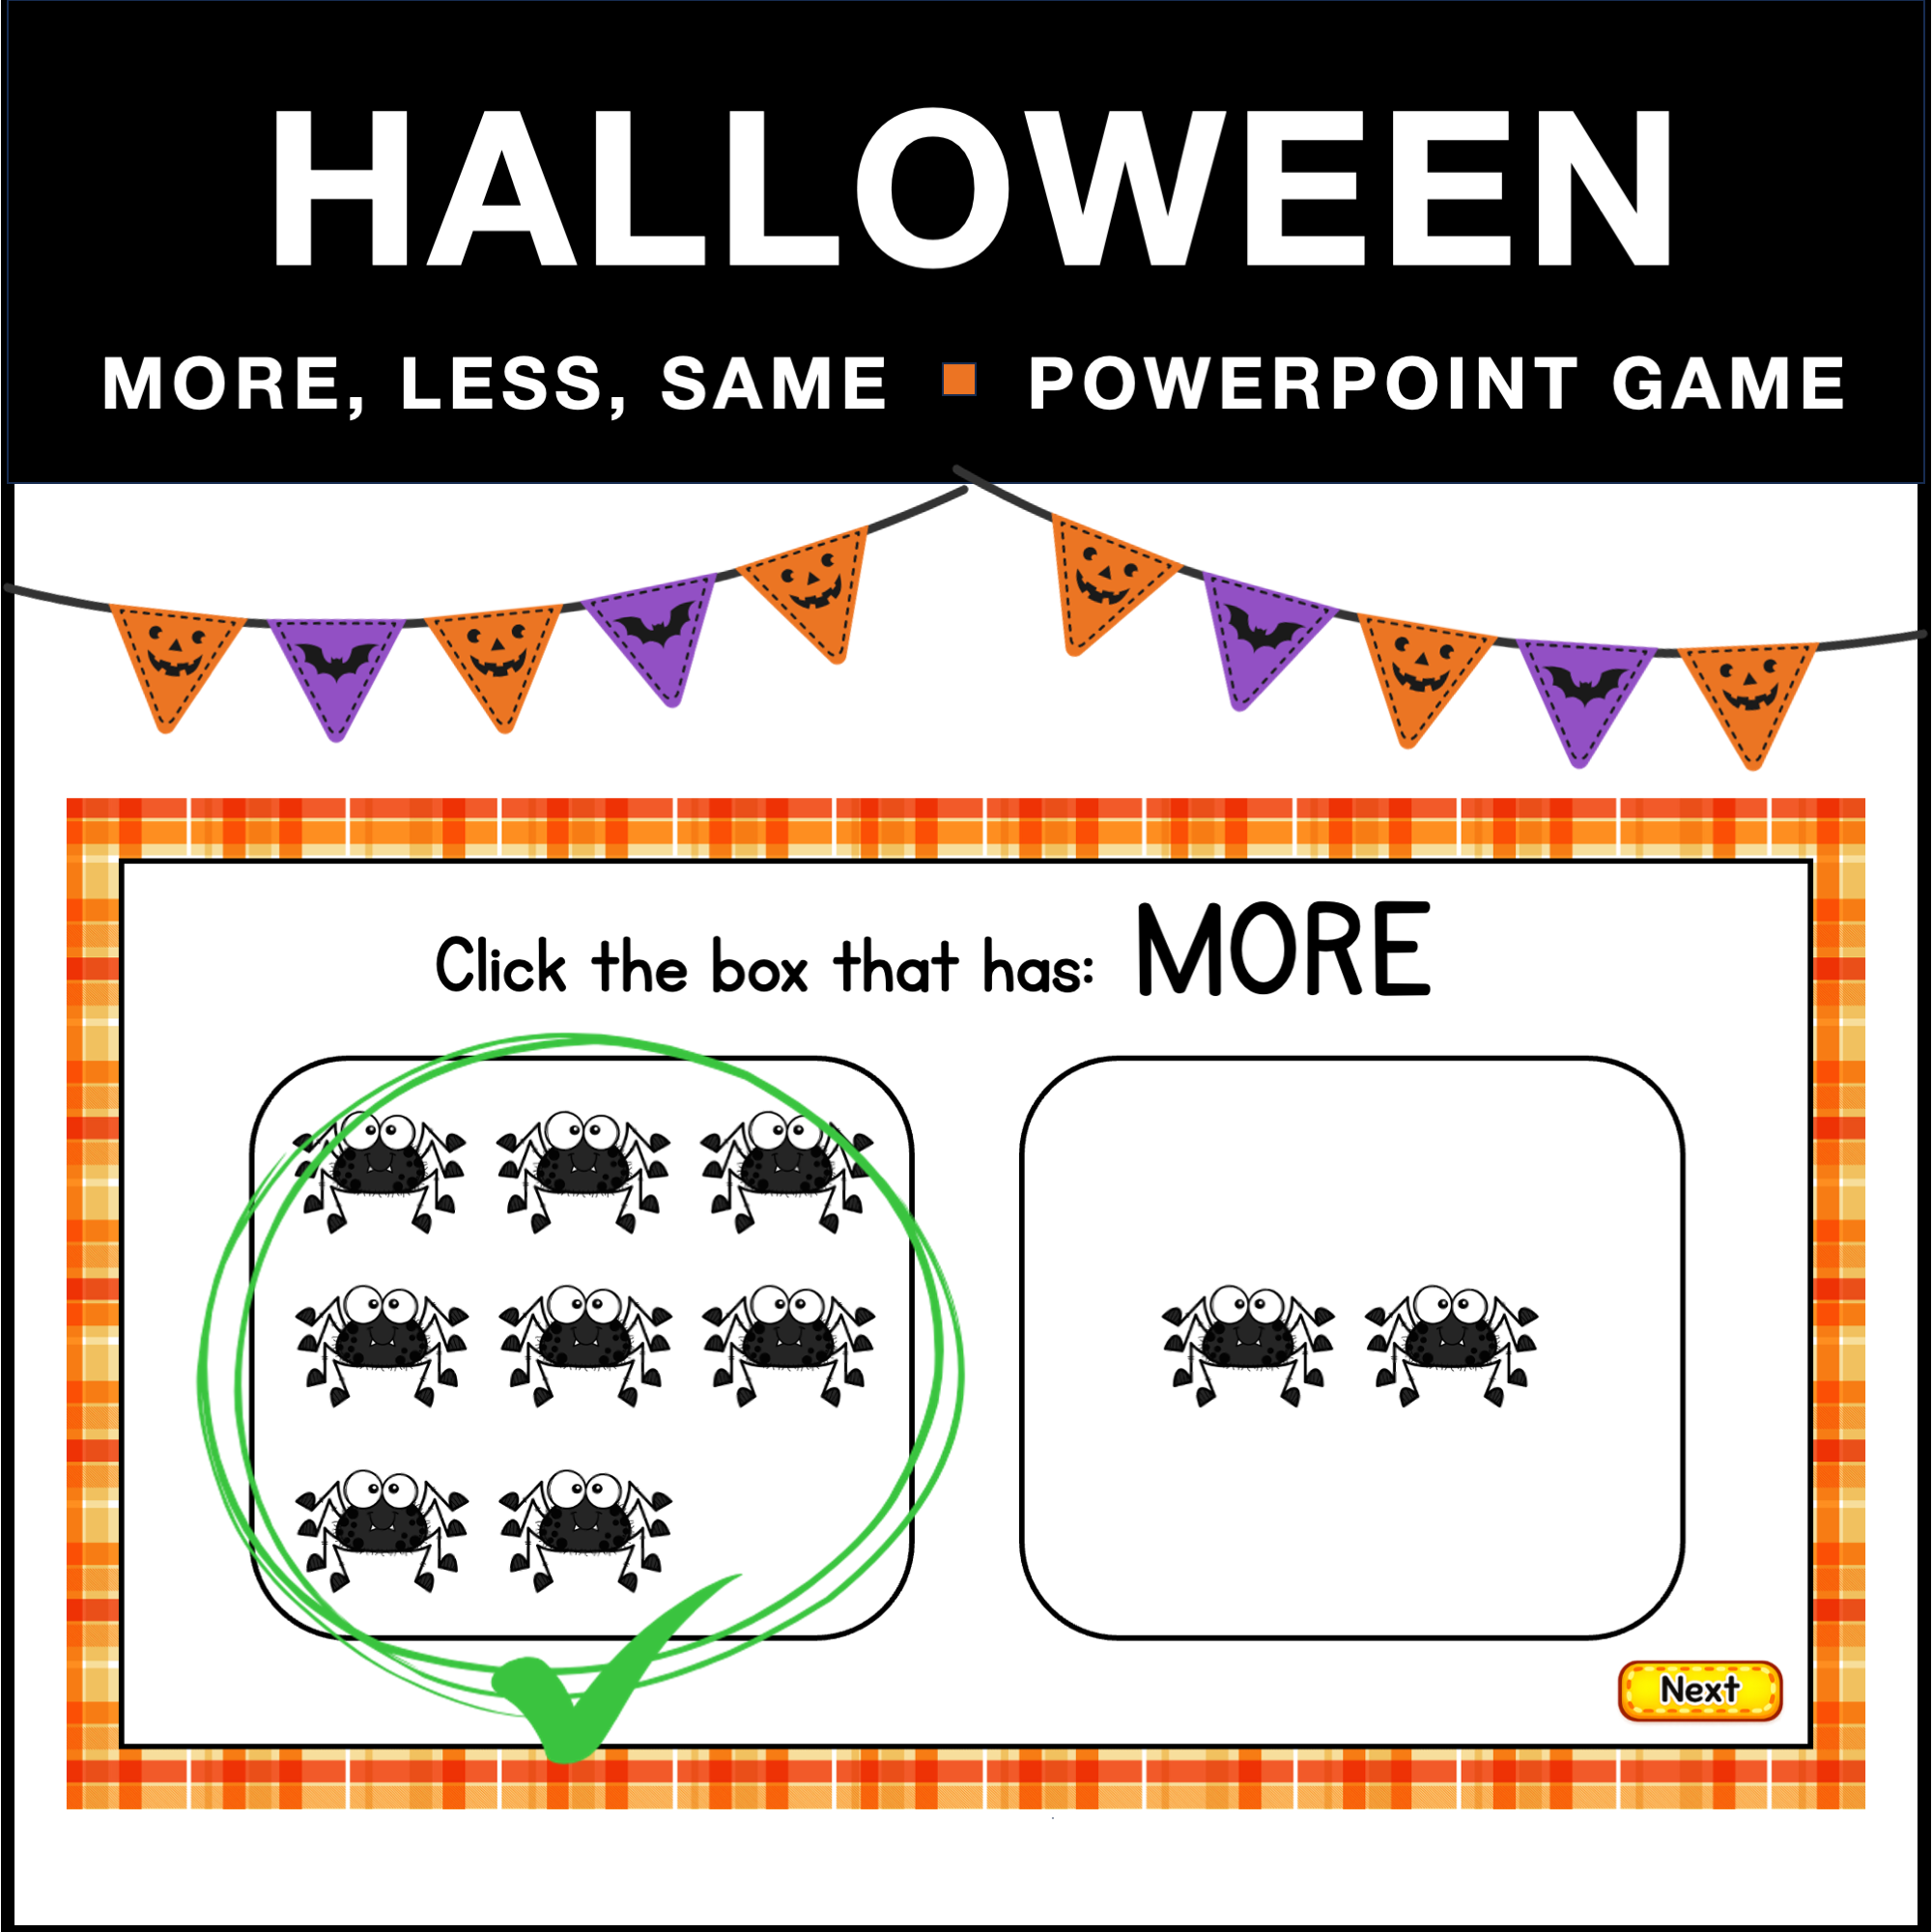
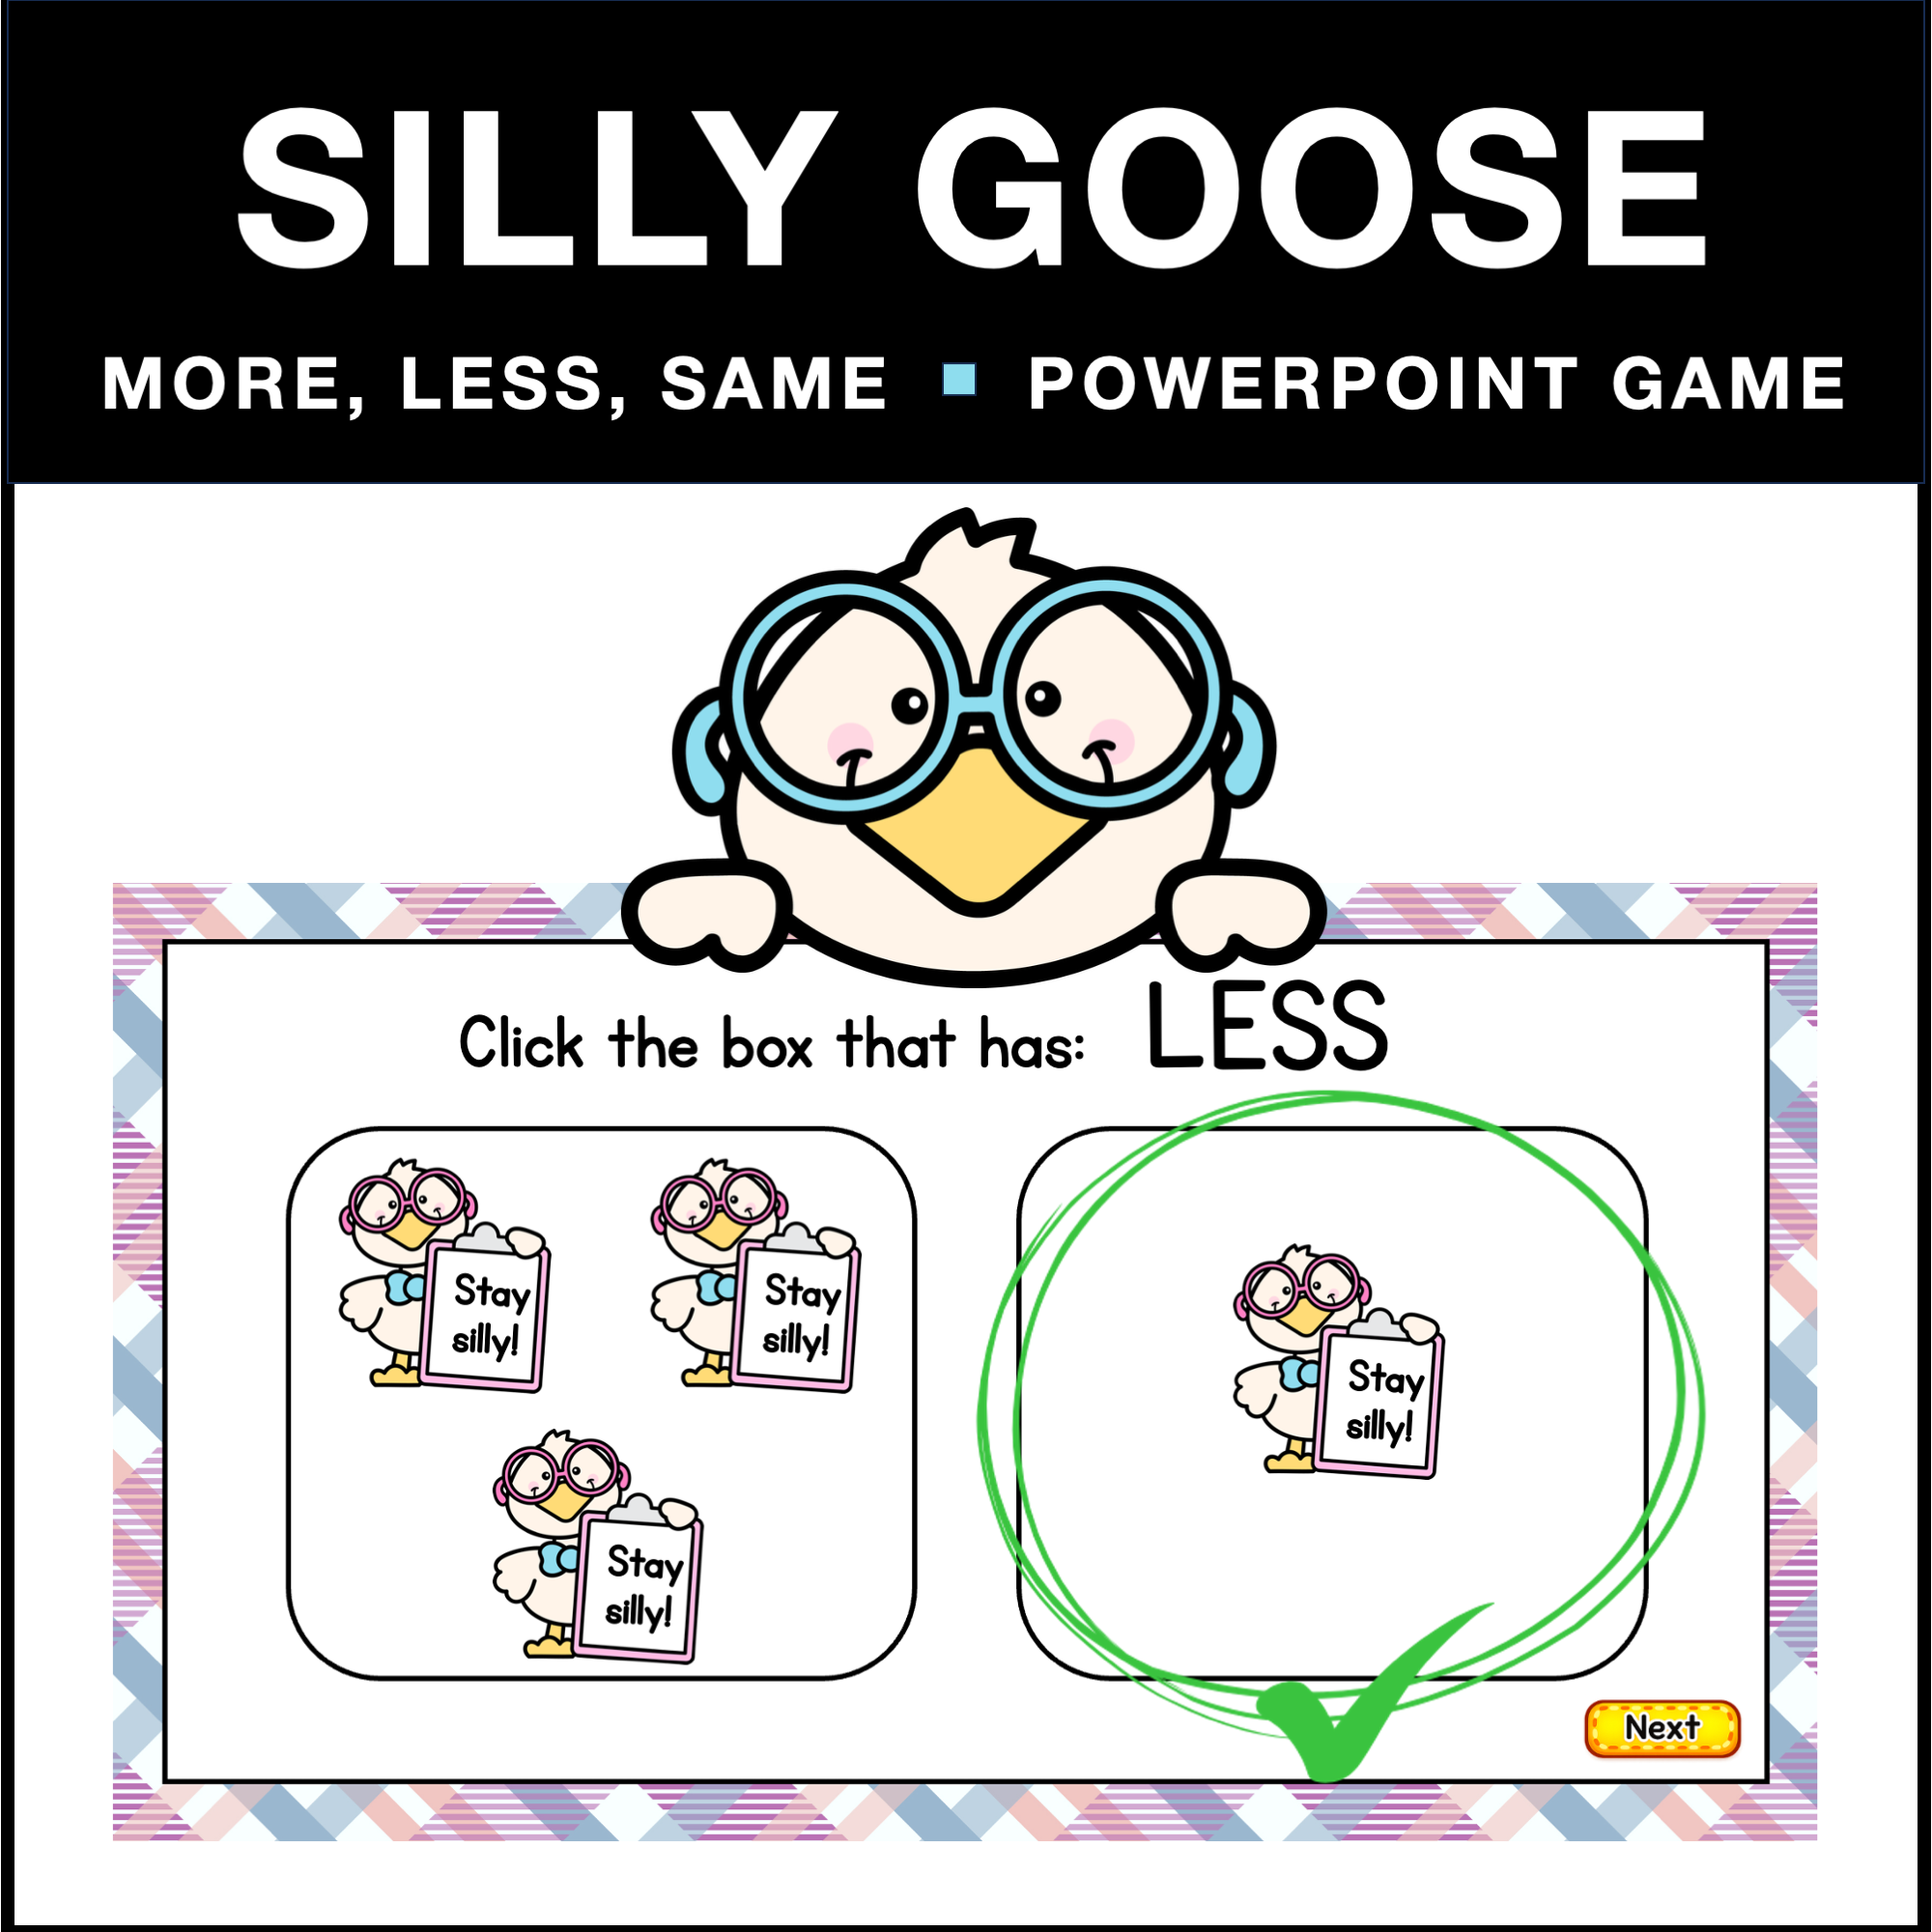
If you’d rather skip the setup, I have several ready-made comparing numbers games that use the same interactive format
described in this tutorial. Students choose an answer, receive immediate feedback, and move through the activity one
question at a time.